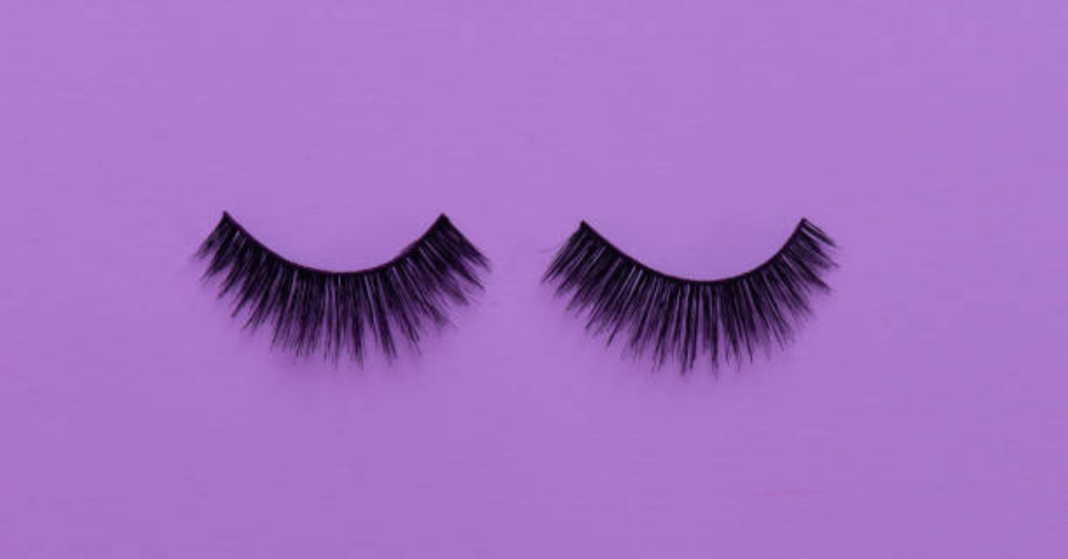
Lash extensions can enhance your eyes and boost your confidence, but there comes a time when you need to remove them. Visiting a professional is the safest option, but sometimes it’s necessary to do it at home. This guide will provide you with step-by-step instructions on how to safely remove lash extensions at home, ensuring minimal damage to your natural lashes. Always use high-quality products from a reputable Lash Extensions Supplier to ensure the best results.
Preparation
Gather Your Supplies
Before you start, make sure you have the following items:
- Steam or hot water
- Coconut oil or olive oil
- Cotton pads or swabs
- Tweezers (optional)
- Lash extension remover (optional)
- Clean towel
Clean Your Face
Wash your face with a gentle cleanser to remove any makeup, dirt, or oil. This will help you see better and work with clean lashes.
Step-by-Step Removal Process
Step 1: Steam Your Face
Steam helps to loosen the adhesive used in lash extensions. Here’s how to do it:
- Boil water: Boil a pot of water and pour it into a bowl.
- Create a steam tent: Place your face over the bowl and cover your head with a towel to trap the steam.
- Steam for 10-15 minutes: Allow the steam to work on your lashes, softening the glue.
Step 2: Apply Oil
Using oil is an effective way to break down the adhesive. Coconut oil or olive oil are great options.
- Soak a cotton pad or swab: Dip a cotton pad or swab into the oil.
- Apply to lashes: Gently rub the oil on your lash line and extensions. Be careful not to get oil in your eyes.
- Wait and reapply: Let the oil sit for a few minutes and then reapply if necessary.
Step 3: Gently Remove the Extensions
Once the adhesive is sufficiently loosened:
- Use tweezers (optional): If comfortable, use tweezers to carefully pull off the extensions.
- Use fingers or cotton pad: Alternatively, use your fingers or a cotton pad to slide the extensions off.
- Be gentle: Take your time and be gentle to avoid damaging your natural lashes.
Step 4: Clean Your Lashes
After all the extensions are removed, clean your lashes thoroughly:
- Wash with a gentle cleanser: Use a mild, oil-free cleanser to wash away any remaining adhesive or oil.
- Rinse with water: Ensure all product residue is washed away.
Aftercare
Nourish Your Natural Lashes
Your natural lashes need care and nourishment after the removal of extensions.
- Use lash serum or conditioner: Apply a lash growth serum or conditioner to help strengthen and nourish your natural lashes.
- Avoid mascara: Give your lashes a break from mascara for a few days to allow them to recover.
Regular Maintenance
- Brush your lashes: Use a clean spoolie to brush your natural lashes daily.
- Avoid harsh products: Stay away from products that may cause further damage.
Tips for a Safe Removal
Be Patient
Patience is key when removing lash extensions at home. Rushing the process can cause damage to your natural lashes.
Avoid Harsh Chemicals
Stick to natural oils and avoid using harsh chemicals that can irritate your eyes or damage your lashes.
Consult a Professional
If you encounter any difficulties or experience discomfort, it’s best to consult a professional. They have the expertise and tools to safely remove lash extensions.
Choosing the Right Lash Extensions Supplier
Using high-quality lash extensions from a reputable Lash Extensions Supplier can make a significant difference in the ease of removal and the health of your natural lashes. Suppliers like RY Lashes offer premium lash products that ensure a safe and beautiful lash experience.
Conclusion
Removing lash extensions at home can be done safely with the right approach and materials. Remember to be gentle, patient, and to use high-quality products from a trusted Lash Extensions Supplier. By following these steps, you can ensure that your natural lashes remain healthy and strong. If in doubt, always seek the help of a professional to avoid any potential damage.


